
TradeMaster
The ItemXchange addon is designed to introduce a simple and efficient trading system for Minecraft Bedrock Edition. It enables players to trade items through a virtual market without relying on villagers or traditional trading mechanics.
2,969
ItemXchange Usage Guide
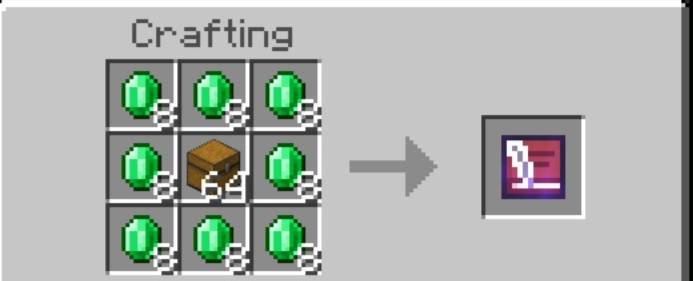
Step 1: Get the ItemXchange item
Step 2: Open the ItemXchange Menu
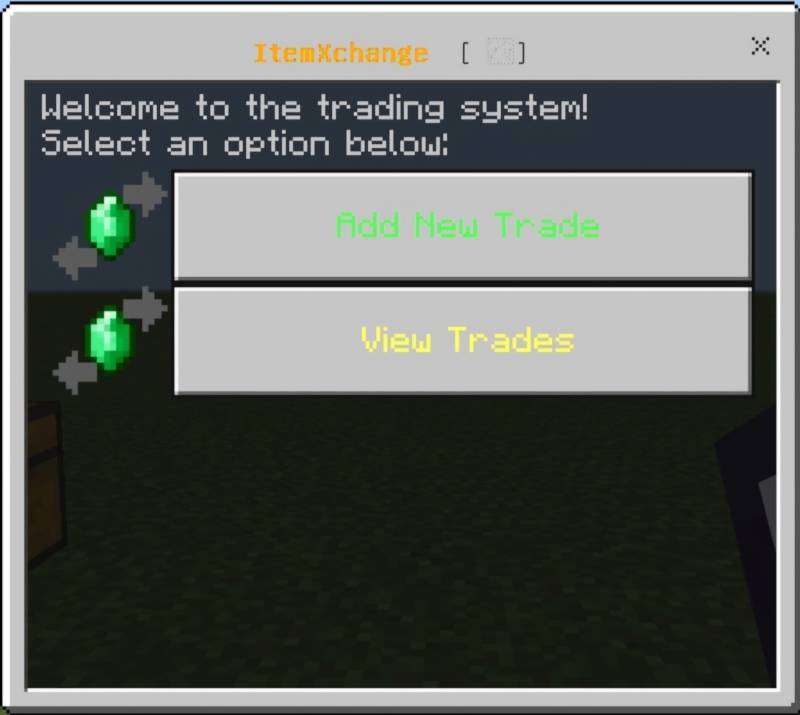
- Hold and use the um:itemxchange item in-game
- You will see two options:
- Add New Trade
- View Trades
Step 3: Add a New Trade
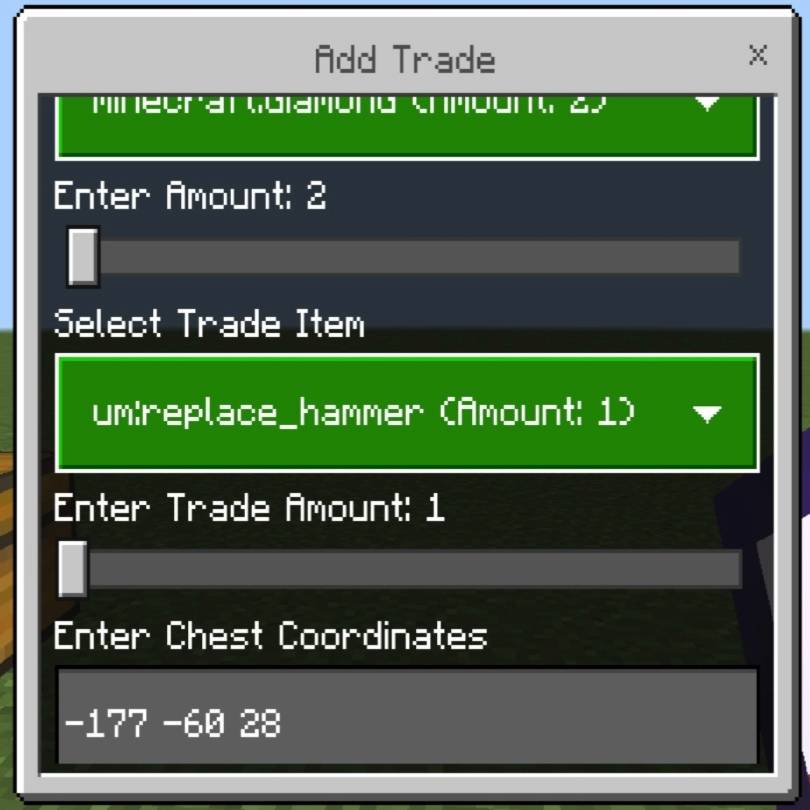
- Select "Add New Trade" from the menu
- Choose an item from your inventory to offer in trade
- Set the quantity (1–64)
- Select the item you want in exchange
- Set the quantity (1–64)
- Enter the coordinates of the chest to store traded items (format: x y z) Example: 100 64 200
- Confirm the trade
- Your offered item is removed and listed as an available trade
Step 4: View and Buy Trades
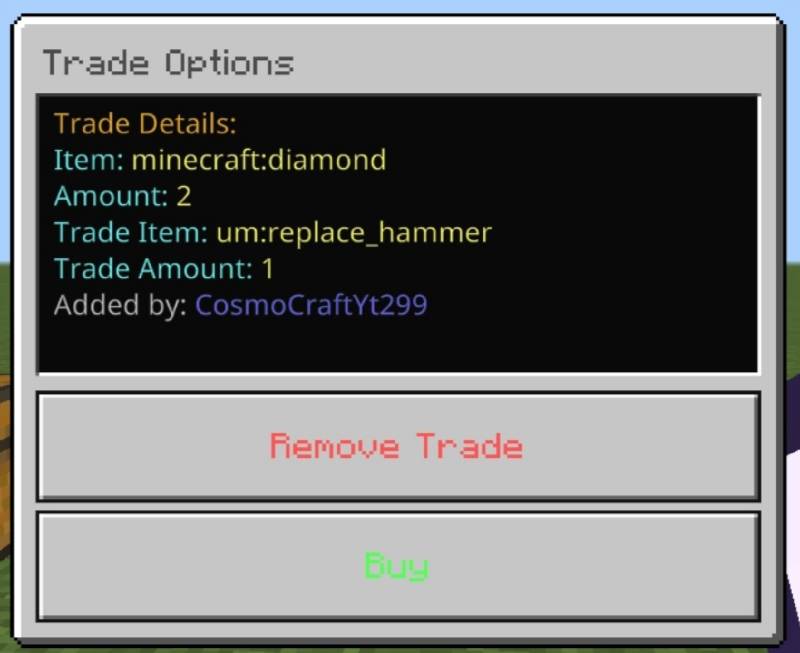
- Select "View Trades" to browse all available trades
- Click any trade to view its details:
- Offered item
- Offered quantity
- Required item and quantity
- Trade creator
- Choose "Buy" to accept the trade (if you have the required item)
- On confirmation:
- Required item is removed from your inventory
- You receive the offered item
- Trade is removed
- Offered item is sent to the designated chest
Step 5: Remove Your Trade
- You can only remove trades you created
- Select your trade and choose "Remove Trade"
- Confirm to cancel the trade
- Your item is returned to your inventory (if space is available)
Important Notes:
- Make sure the specified chest exists and has space
- If your inventory is full or you don’t have the required item, you’ll be notified
Changelog:None
More versions

All Rights Reserved
06/01/2025
23:06 19/07